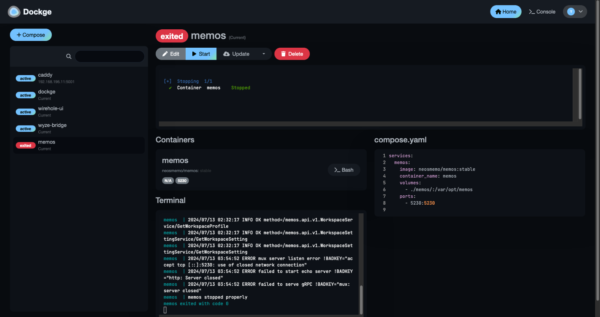
Trước đây mình đã từng hướng dẫn cài đặt Deluge bằng Docker để tải torrent. Tuy nhiên gần đây mình đã thay thế Deluge bằng qBittorrent + Flood UI vì giao diện quản lý của Flood hơn.
Dưới đây là hướng dẫn cài đặt qBittorrent và Flood Web UI bằng Docker. Nếu máy của bạn chưa có Docker và Docker-Compose, tham khảo lại bài viết sau
Mục Lục
1. Cài đặt qBittorrent
Truy cập SSH vào máy chủ, tạo thư mục mới và file docker-compose.yml
mkdir qbittorrent
cd qbittorrent
nano docker-compose.ymlCode language: Bash (bash)Nhập vào nội dung sau và lưu lại
services:
  qbittorrent:
    container_name: qbittorrent
    image: ghcr.io/hotio/qbittorrent
    restart: unless-stopped
    ports:
      - 8090:8090
    environment:
      - WEBUI_PORTS=8090/tcp,8090/udp
    volumes:
      - ./config:/config
- /volumeUSB3/usbshare:/dataCode language: YAML (yaml)Bạn có thể thay đổi thông số của phần volumes để trỏ đến thư mục mong muốn.
2. Kích hoạt qBittorrent
Kích hoạt qBittorrent
docker compose up -dCode language: Nginx (nginx)Check logs để lấy tài khoản admin và mật khẩu
docker compose logsCode language: Nginx (nginx)Ở các dòng cuối bạn sẽ thấy hiện ra thông tin như dưới đây
qbittorrent1  | The WebUI administrator username is: admin
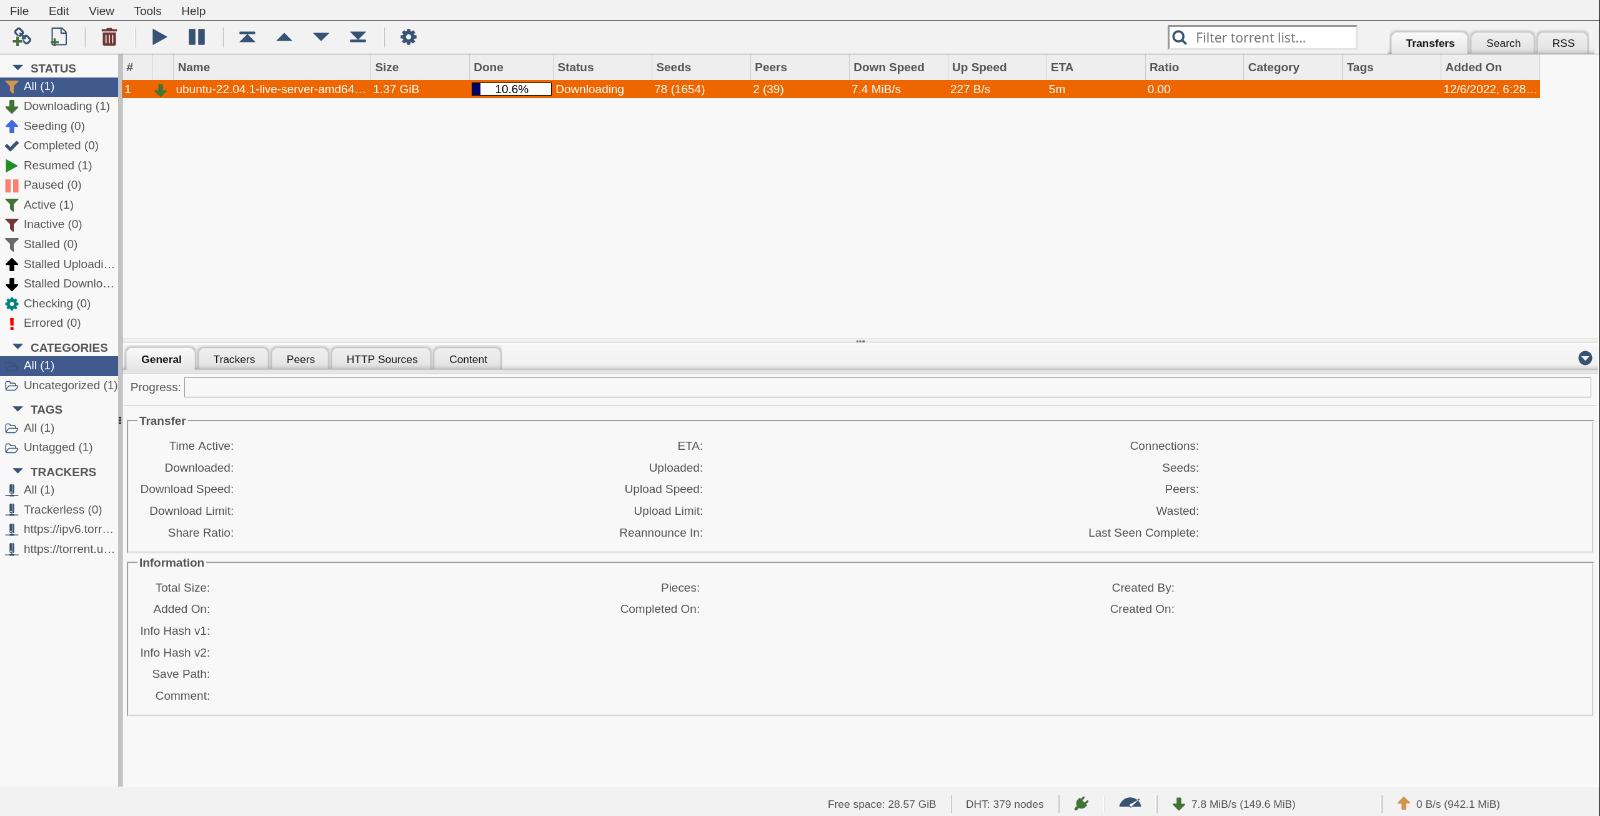
qbittorrent1 | The WebUI administrator password was not set. A temporary password is provided for this session: 9qeRJpBLVCode language: Python (python)Mở trình duyệt, gõ vào địa chỉ IP của server với port 8090 để truy cập WebUI của qBittorrrent. Đăng nhập bằng tài khoản admin vừa mới lấy ở bước trên. Bạn nên thay đổi sau lần truy cập đầu tiên để tối ưu bảo mật.
3. Cài đặt Flood UI
Mình thấy Web UI mặc định của qBittorrent trực quan và dễ dùng hơn Web UI của Deluge, nhưng nếu so với Web UI của Flood thì vẫn còn kém xa. Do đó mình sẽ cài thêm Flood để quản lý các file torrent của qBittorrent.
Flood không phải là 1 torrent client như Deluge hay qBittorrent. Nó chỉ là một bộ giao diện Web UI được xây dựng bằng NodeJS để dùng với các torrent client phổ biến: rTorrent, qBittorrent, Transmission và Deluge.
Chỉnh sửa lại file docker-compose.yml đã tạo trước đó, bổ sung thêm phần dịch vụ của Flood
services:
  qbittorrent:
    container_name: qbittorrent
    image: ghcr.io/hotio/qbittorrent
    restart: unless-stopped
    ports:
      - 8090:8090
    environment:
      - WEBUI_PORTS=8090/tcp,8090/udp
    volumes:
      - ./config:/config
      - /volumeUSB3/usbshare:/data
  flood:
    image: jesec/flood:latest
    container_name: flood
    restart: always
    depends_on:
      - qbittorrent
    volumes:
      - ./flood_config:/config
      - /volumeUSB3/usbshare:/data
      - /etc/localtime:/etc/localtime:ro
    ports:
      - 3000:3000
    command:
      - --auth=none
      - --qburl=http://qbittorrent:8090
      - --qbuser=admin
      - --qbpass=9qeRJpBLV
Code language: YAML (yaml)Bạn cần thay đổi nội dung của dòng --qbuser và --qbpass tương ứng với tài khoản admin của qBittorrent.
Kích hoạt lại dịch vụ
docker-compose up -d4. Truy cập Flood UI
Truy cập vào Web UI của Floor theo port 3000: http://192.168.0.138:3000
Flood sẽ tự động kết nối đến qBittorrent và hiện ra giao diện xinh đẹp như dưới đây.
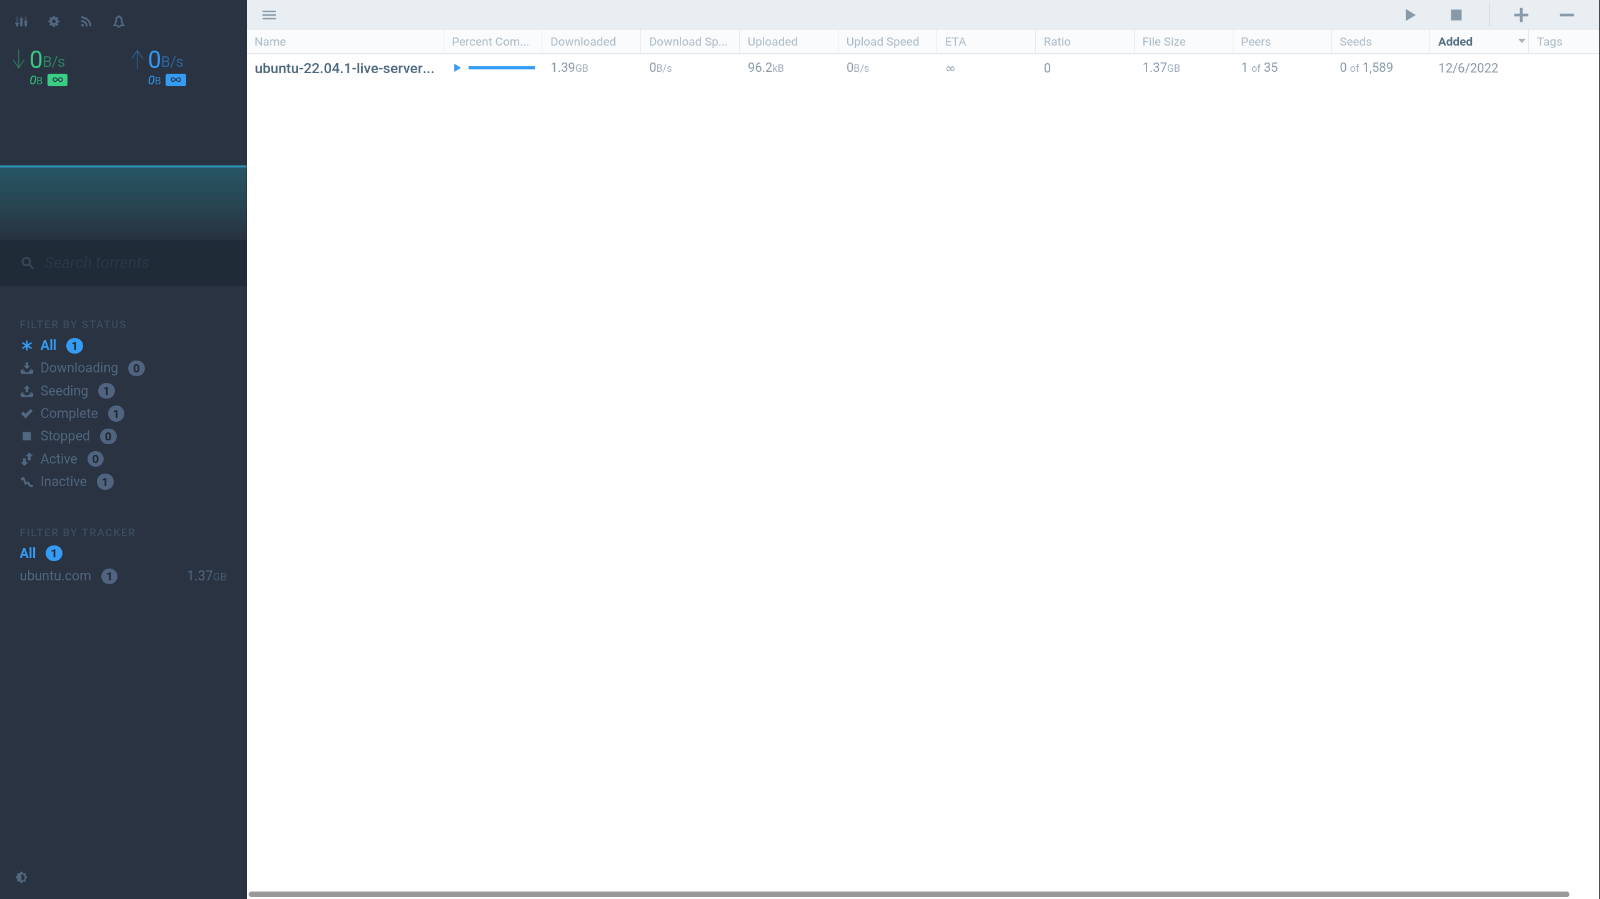
Giao diện này tải nhanh và rất dễ sử dụng. Chắc chắn là ăn đứt Web UI mặc định của Deluge hay Qbittorrent.
Vậy là xong. Chúc bạn thực hiện thành công!
